Contents
The short answer
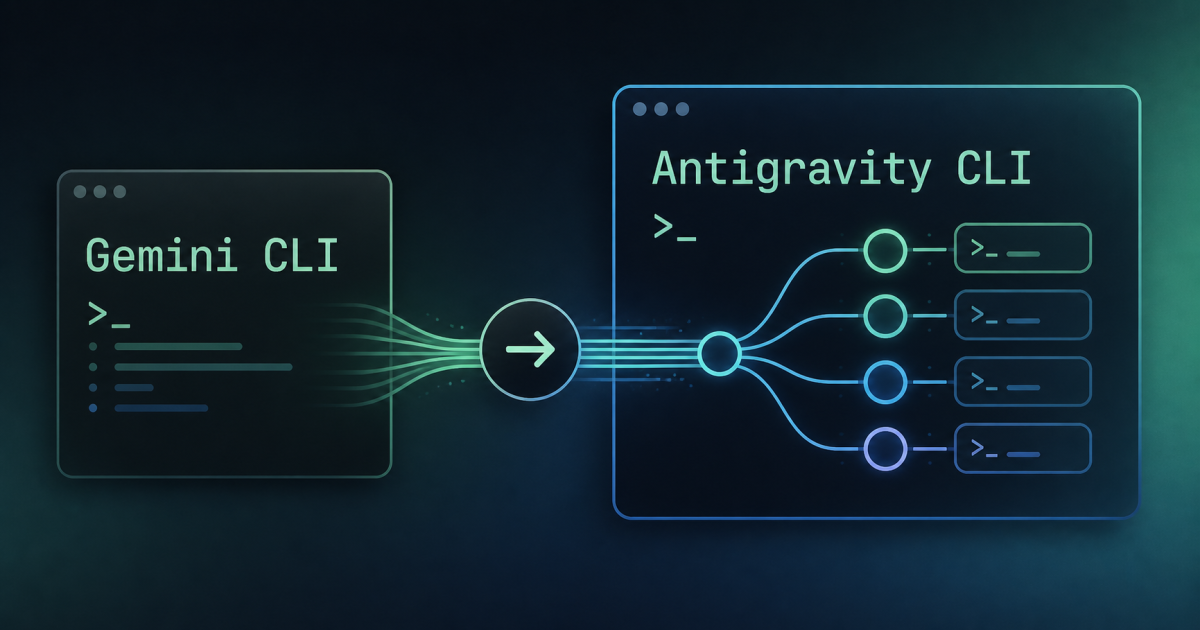
Google stopped processing requests from Gemini CLI and Gemini Code Assist IDE extensions used with consumer accounts after June 18, 2026. Google directs affected users to Antigravity CLI.
This was not a universal shutdown of every Gemini CLI access path. Enterprise licenses, Google Cloud usage, and certain API-key configurations continue. Check the authentication and subscription attached to your workflow before migrating.
This guide cross-checks the Google announcement, official migration documentation, and official GitHub repositories. Results can vary by operating system, authentication method, and extensions, so test in a small repository before using the new CLI in production work.
What ended and what continues
| Access type | Status after June 18, 2026 | Recommended action |
|---|---|---|
| Consumer free, Google AI Pro, and Google AI Ultra | Gemini CLI and IDE-extension request processing stopped | Migrate to Antigravity CLI |
| Gemini Code Assist Enterprise | Continues | Confirm the license and authentication with the organization administrator |
| Google Cloud access | Continues | Verify the current Cloud authentication and billing setup |
| Eligible API-key access | May continue | Check the official notice and the key type in use |
The exact effect depends on the account and authentication path. Read the Google Developers Blog announcement before treating the change as a complete Gemini CLI shutdown.
Back up your configuration
Antigravity CLI can detect existing configuration on first launch, but create a backup first. Review project instructions, Skills, MCP server settings, custom commands, and references to authentication secrets.
# macOS or Linux example
cp -R ~/.gemini ~/.gemini-backup-20260618

# Check the project working tree
git status
On Windows, copy the .gemini directory in the user profile with File Explorer or PowerShell. Never paste access tokens or API keys into an article, Git repository, or screenshot.
Set up Antigravity CLI
Distribution methods and supported environments can change. Check the current instructions in the official repository. After installation, reopen the terminal and launch the CLI:
agyOn first launch, Antigravity CLI can show migration options when it finds an existing Gemini CLI configuration. Read the detected paths and confirm that the backup is complete before proceeding.
Migrate instructions, Skills, MCP, and Plugins
Project instructions
Existing instruction files such as GEMINI.md can be detected, and Antigravity CLI also supports AGENTS.md. Confirm that the instructions actually affect a test response after migration.
Workspace Skills
The project-level location for Skills changes:
Old: .gemini/skills/
New: .agents/skills/
After moving the directory, start Antigravity CLI and verify that every required Skill is recognized.
MCP servers
MCP configuration differs in both location and schema. The official guide includes cases where url or httpUrl changes to serverUrl. Keep the original file and test each server separately.
Plugins
Use the following command to import Gemini CLI Plugins:
agy plugin import geminiReview the imported Plugin list and permissions. Disable Plugins that the current project does not require.
Common migration problems
The agy command is not found
Close and reopen the terminal, then confirm that the install location is on PATH. On Windows, restarting PowerShell can make a newly updated PATH visible.
Workspace Skills do not appear
Confirm that the files are under .agents/skills/, not .gemini/skills/, and validate the directory name and Skill definition.
An MCP server does not connect
Check the configuration location, the serverUrl field, environment-variable references, and token expiration. Redact secrets before sharing logs.
Post-migration checklist
agylaunches successfully- The intended Google account or authentication method works
GEMINI.mdorAGENTS.mdinstructions are applied- Required Skills and Plugins appear
- MCP servers connect
- File edits and commands work in a small test repository
- The old Gemini CLI configuration backup remains available
Official sources
- Google Developers Blog: Transitioning Gemini CLI to Antigravity CLI
- Official Gemini CLI GitHub announcement for consumer accounts
- Official Antigravity CLI migration guide
- Official Antigravity CLI repository